
If you’re a gardening enthusiast looking for an eco-friendly and cost-effective way to create planters, wooden pallets are a fantastic resource to consider. With a touch of creativity and some basic DIY skills, you can transform discarded pallets into charming planters that add character to your garden space.
In this step-by-step guide, we’ll walk you through the process of building a wooden planter from pallets, all while highlighting the sustainable ethos of “Verdetrader.” Let’s get started on your journey to crafting a unique garden feature.

Materials You’ll Need:
- Wooden pallet
- Saw (circular saw or reciprocating saw)
- Measuring tape
- Sandpaper or sander
- Screws or nails
- Drill or hammer
- Landscape fabric
- Staple gun
- Soil and plants
Step 1: Choose Your Pallet
Select a pallet in good condition, free from rot and damage. Opt for heat-treated (HT) pallets that are safe for use in gardening projects. HT pallets are marked with an “HT” stamp, indicating they’ve been heat-treated to eliminate pests and pathogens.
Step 2: Disassemble the Pallet
Using a saw (circular saw or reciprocating saw), carefully cut along the edges to disassemble the pallet. Remove any nails or screws from the wooden planks. You’ll need the individual planks for constructing the planter.
Step 3: Measure and Cut
Determine the size of your planter and cut the pallet planks to the desired lengths. You’ll need four planks for the sides and four planks for the base of the planter. Sand down any rough edges or surfaces using sandpaper or a sander.
Step 4: Assemble the Frame
Arrange the planks to create a rectangular frame for the planter. Place two longer planks parallel to each other to form the longer sides of the frame, and then attach two shorter planks to complete the ends. Use screws or nails to secure the corners. This will serve as the base of your planter.
Step 5: Add the Sides
Attach the remaining planks vertically along the inside edges of the frame to create the sides of the planter. Secure them in place with screws or nails. Ensure that the planks are level and evenly spaced.
Step 6: Line the Planter
Line the inside of the planter with landscape fabric to prevent soil from escaping while allowing for proper drainage. Cut the fabric to size, leaving enough excess to fold over the top edges of the planter.
Step 7: Secure the Fabric
Using a staple gun, staple the landscape fabric to the inside of the planter along the top edges. Make sure the fabric is taut and securely attached.
Step 8: Fill with Soil and Plants
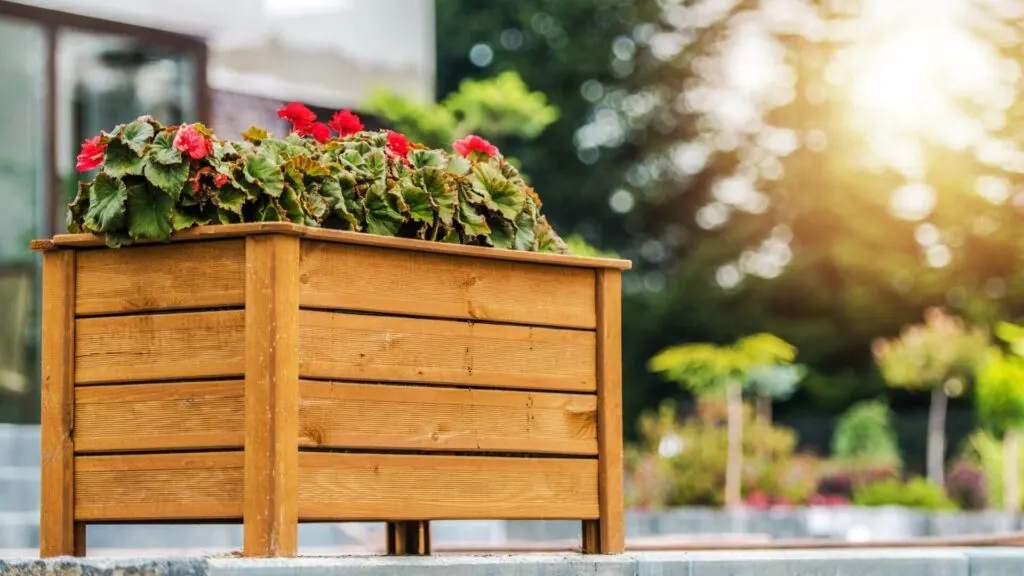
Fill the planter with high-quality soil, leaving enough space for your chosen plants. Select plants that suit the size and conditions of your planter. Whether you’re planting vibrant flowers or fresh herbs, this is where your creativity can shine.
Step 9: Display and Enjoy
Place your newly crafted wooden planter in your garden, patio, or balcony, and watch it become a focal point of natural beauty. Regularly water and care for your plants to ensure they thrive in their new home.
By repurposing pallets into planters, you’re not only contributing to sustainable gardening but also showcasing your DIY skills and creativity. This project perfectly aligns with the values of “Verdetrader,” where innovative and eco-friendly solutions are embraced.
With a little effort and a touch of green, you can build a wooden planter that not only nurtures your plants but also adds a rustic charm to your outdoor space. So, gather your materials, follow these steps, and embark on a rewarding journey of crafting your very own pallet planter.


Jessi is the creative mind behind The Coffee Mom, a popular blog that combines parenting advice, travel tips, and a love for all things Disney. As a trusted Disney influencer and passionate storyteller, Jessi’s authentic insights and relatable content resonate with readers worldwide.